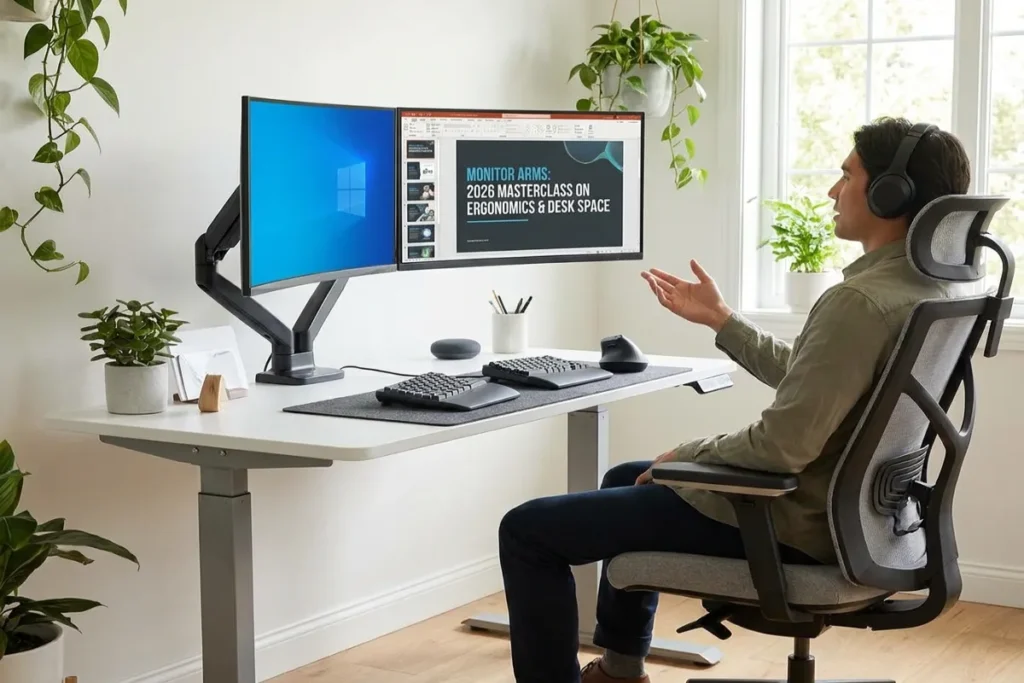
In the modern digital workspace, screen real estate is king. Whether you are coding complex software, analyzing financial models, editing high-resolution video, or immersing yourself in modern gaming, your display is your primary window to productivity. Yet, standard factory monitor stands are bulky, static, and ergonomically flawed. They consume massive amounts of valuable desk space and force your spine into hunched, unnatural angles that lead to neck strain, lower back pain, and eye fatigue.
In 2026, the single most impactful upgrade you can make to your home office or professional workstation is investing in high-performance Monitor Arms.
By lifting your displays completely off the desk surface and offering dynamic, fingertip-touch adjustability, deploying modern Monitor Arms reclaims lost desk space, eliminates posture strain, and transforms your screen layout into a flexible, floating command center. This comprehensive guide breaks down mechanical vs. gas spring counterbalances, weight limits, VESA compatibility, mounting styles, and dual-screen ergonomics to help you build the ultimate setup.
Cable Sleeves: The Ultimate 2026 Guide to Seamless Cable Management
Table of Contents

The Ergonomic imperative: Why Factory Monitor Stands Fail
Standard stands that ship with consumer displays are designed to save manufacturing costs, not to preserve human spine health. They lock your display into a rigid height, forcing you to adjust your body to the screen rather than adjusting the screen to your body.
+-------------------------------------------------------------------------+
|                 FACTORY STAND VS. DYNAMIC MONITOR ARM                   |
|                                                                         |
|   FACTORY DISPLAY STAND:                                                |
|   - Fixed height forces forward head posture ("tech neck")              |
|   - Massive plastic base hogging 20–30% of desktop surface space        |
|   - Zero portrait/landscape rotational flexibility                       |
|   - Screen wobbles during typing or standing desk height adjustment     |
|   - Cable management restricted to a tiny hole in the plastic neck      |
|                                                                         |
|   DYNAMIC DUAL MONITOR ARM:                                             |
|   - Continuous height, tilt, swivel, and depth adjustment               |
|   - Reclaims 100% of desk space beneath the screen                      |
|   - Instant 90-degree pivot for long-form coding or document reading   |
|   - Built-in tension channels for complete wire concealment             |
+-------------------------------------------------------------------------+
1. Eliminating “Tech Neck” and Posture Fatigue
When your display sits too low, your head tilts forward. For every inch your head leans forward past neutral alignment, your neck muscles must support an additional 10 pounds of force. Mounting screens on flexible Monitor Arms lets you place the top third of your display at eye level and about an arm’s length away, keeping your cervical spine in a relaxed, neutral alignment.
2. Unlocking 100% Usable Desk Space
Factory monitor bases consume critical space right in the center of your desk deck. Swapping to a C-clamp or grommet arm frees up that space for audio interfaces, desk mats, charging pads, or handwritten notebooks.
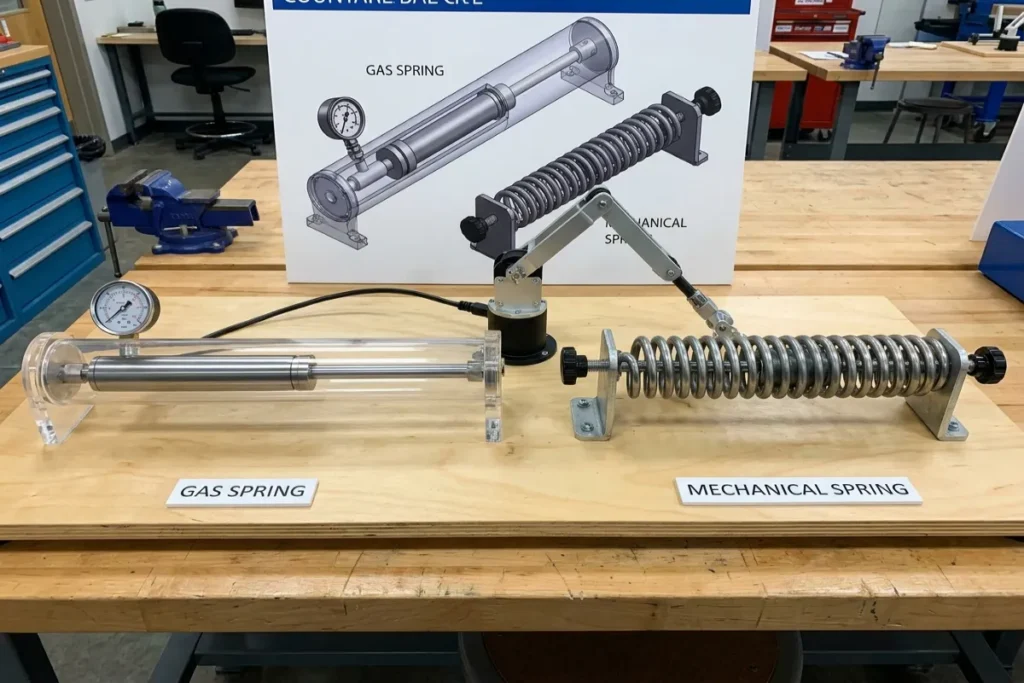
Counterbalance Technology: Gas Spring vs. Mechanical Spring
Understanding the mechanical mechanism driving a monitor arm is essential for choosing the right support for your screen weight.
+-------------------------------------------------------------------------+
|                  COUNTERBALANCE MECHANISM COMPARISON                    |
|                                                                         |
|   [1. GAS SPRING CYLINDER]        [2. MECHANICAL COIL SPRING]           |
|   - Pressurized gas cylinder      - Tempered steel coil spring          |
|   - Ultra-smooth, effortless movement - Exceptional long-term durability    |
|   - "Floating" sensation          - Handles ultra-heavy displays        |
|   - Temperature/pressure sensitive - Consistent tension over decades    |
+-------------------------------------------------------------------------+
1. Gas Spring Cylinders
Gas spring arms use pressurized gas enclosed in a cylinder to counterbalance display weight. They provide a smooth, weightless “floating” feel, allowing you to reposition your screen with one hand. They are ideal for setups where you change display height or tilt multiple times throughout the day.
2. Mechanical Coil Springs
Mechanical spring arms use heavy-duty steel coils to support screen weight. While they require slightly more effort to adjust, they offer extreme durability and hold heavy settings consistently without losing tension over years of heavy use.
Monitor Mount Selection Matrix
Compare key performance metrics across common arm designs to choose the right fit for your screens:
| Mount Design | Weight Capacity per Arm | Screen Size Compatibility | Ideal Display Layout | Best Application |
| Single Heavy-Duty Arm | 20 to 44+ lbs (9–20 kg) | Up to 49″ Ultrawides | Single Curved / Super Ultrawide | Gaming rigs, video editing, heavy displays |
| Dual Side-by-Side Arm | 4.4 to 19.8 lbs (2–9 kg) | Dual 24″ to 32″ Screens | Horizontal Dual Monitor Run | Standard office work, coding, dual 4K |
| Dual Stacked Vertical Arm | 10 to 26 lbs per arm | Dual 27″ to 34″ Screens | Top-and-Bottom Vertical Stack | Streamers, traders, tight desktop widths |
| Triple Crossbar Arm | 15 to 22 lbs per arm | Triple 24″ to 27″ Screens | 180-Degree Panoramic Surround | Sim-racing, financial trading, multi-data |
Interactive Monitor Arm Compatibility Calculator
Verify your display’s VESA pattern, weight safety margins, desk clamp clearances, and ideal arm mechanisms using our interactive tool below.
Mounting Styles: C-Clamp vs. Grommet Mount
Connecting your monitor arm securely to your desk frame requires selecting the right mounting method for your desktop surface.
+-------------------------------------------------------------------------+
|                     DESK MOUNTING METHOD BREAKDOWN                      |
|                                                                         |
|   [C-CLAMP MOUNTING]              [GROMMET HOLE MOUNTING]             |
|   - Clamps over rear desk lip     - Bolts through cable pass-through    |
|   - Zero drilling required        - Extreme stability & weight support  |
|   - Easy to relocate              - Allows flush desk-to-wall placement |
+-------------------------------------------------------------------------+
1. Heavy-Duty C-Clamp Installation
The C-clamp is the most popular mounting method. It wraps around the rear edge of your desktop deck and tightens using dual under-desk threaded screws. Ensure your desk lip extends at least 2 inches deep and is free of metal support crossbars that could block the clamp jaws.
2. Through-Desk Grommet Mounting
If your desk sits completely flush against a wall or has a built-in cable pass-through hole, a grommet mount is ideal. A threaded steel rod passes directly through a 0.5-inch to 2-inch hole in the desktop, securing from beneath with a wide steel reinforcement plate. This offers maximum stability for heavy ultrawide screens.
Step-by-Step Installation Masterclass
Follow these four practical steps to install your arm safely and dial in the perfect counterbalance tension:
- Check Display Weight and Remove Factory Stand: Detach your display from its original stand. Weigh the panel using a bathroom scale or check manufacturer specs for weight excluding the factory stand.
- Attach VESA Plate to Display: Align the arm’s VESA bracket (typically 75x75mm or 100x100mm) with the mounting holes on the back of your screen. Hand-tighten all four screws firmly using the included rubber washers.
- Secure Base Mount to Desk: Install the C-clamp or grommet base onto your desk. If mounting on an engineered wood desk, place a wood reinforcement plate under the desk deck to distribute clamping pressure evenly.
- Calibrate Spring Tension: Once mounted, if the screen sinks down on its own, turn the tension calibration bolt toward the plus (+) sign with an Allen wrench to increase support. If the screen pops upward unexpectedly, turn toward the minus (-) sign until the screen hovers effortlessly in place.
5 Practical Tips for Ergonomic Display Perfection
Maximize your screen setup with these core organization and viewing guidelines:
- Maintain Proper Viewing Distance: Position your primary display roughly an arm’s length away (20 to 30 inches) from your sitting position. If you can touch the screen with your fingertips without leaning forward, your distance is correct.
- Set Screen Height to Neutral Eye Level: Adjust arm height so the top edge of the display sits at or slightly below your horizontal line of sight. This keeps your eyes relaxed with a comfortable 15-degree downward tilt.
- Incorporate Vertical Rotation for Code & Documents: Set up a secondary 27-inch monitor in portrait orientation (vertical) to read long code runs, documents, spreadsheets, or chat channels without scrolling.
- Route Cable Slack for Height Motion: When routing video and power cords through internal channels, leave 6 to 8 inches of loose slack near the arm joints. This prevents cables from pulling tight or damaging ports when adjusting height.
- Use Reinforcement Plates on Thin Desks: Avoid attaching heavy dual or ultrawide arms directly to thin laminate or hollow-core desks without steel reinforcement plates, as clamping pressure can warp or crush the desktop over time.
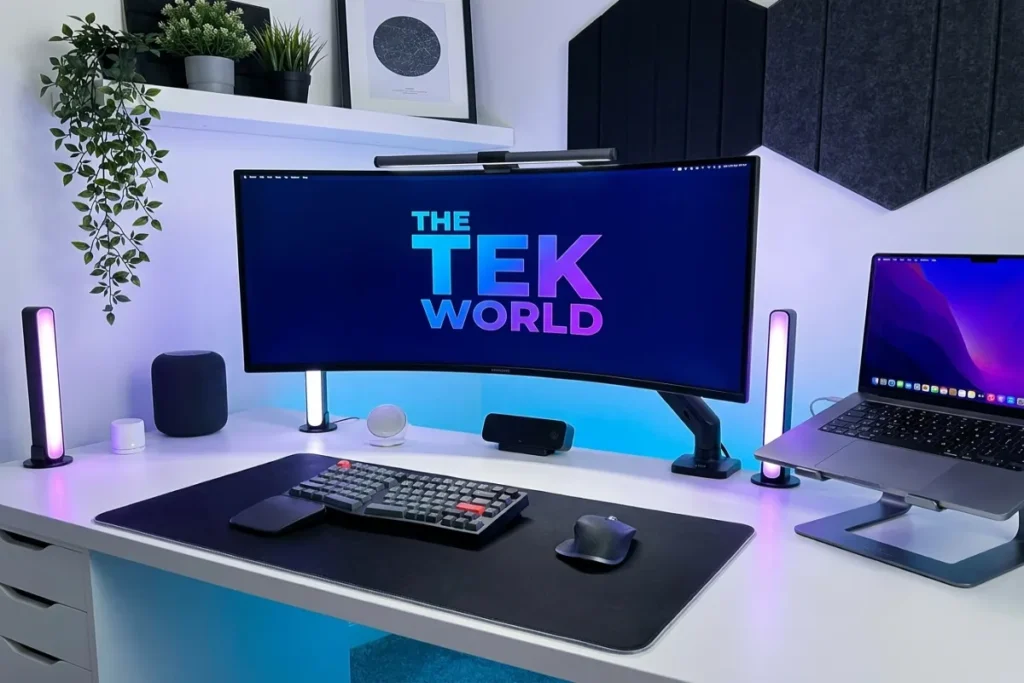
Elevate Your Workspace with The Tek World
Upgrading to high-quality Monitor Arms is one of the most effective ways to improve posture, reclaim valuable desk space, and create a sleek, modern workspace. By matching weight capacities, VESA patterns, and spring mechanisms to your hardware, you build a floating multi-screen setup tailored for comfort and high productivity.
Looking for comprehensive reviews on heavy-duty ultrawide mounts, gas-spring dual arms, standing desk setups, and ergonomic accessories updated for 2026? Visit thetekworld.com for expert buying advice, hardware breakdowns, and workspace optimization guides!
Frequently Asked Questions (FAQ)
1. Will a heavy 49-inch curved ultrawide monitor work on a standard dual monitor arm?
No. Super ultrawide displays (like 49-inch 32:9 screens) place unique leverage on the monitor head. They require a dedicated heavy-duty arm rated for at least 33 to 44 lbs (15–20 kg) featuring a heavy-duty tilt joint to keep the screen from tilting downward on its own.
2. Can I use a C-clamp monitor arm on a glass-top desk?
Clamping a heavy monitor arm directly onto tempered glass is dangerous and can shatter the desktop. If you have a glass desk, choose a freestanding desk mount base or a floor-supported display pole rather than a edge clamp.
3. What should I do if my display lacks standard VESA mounting holes on the back?
If your screen lacks rear VESA bolt holes (common on some ultra-thin consumer monitors), you can use a universal VESA adapter bracket. These brackets feature adjustable padded arms that grip the four corners of your screen, providing a standard VESA plate interface for your monitor arm.
4. How do I stop my monitor arm from vibrating when I type on a standing desk?
Keyboard vibration occurs when desk frames flex during typing. To minimize wobble, mount your arm base as close to a desk leg as possible, tighten all arm pivot joints slightly, and choose a heavy-duty steel mechanical spring arm with a wide mounting base plate.

Comments