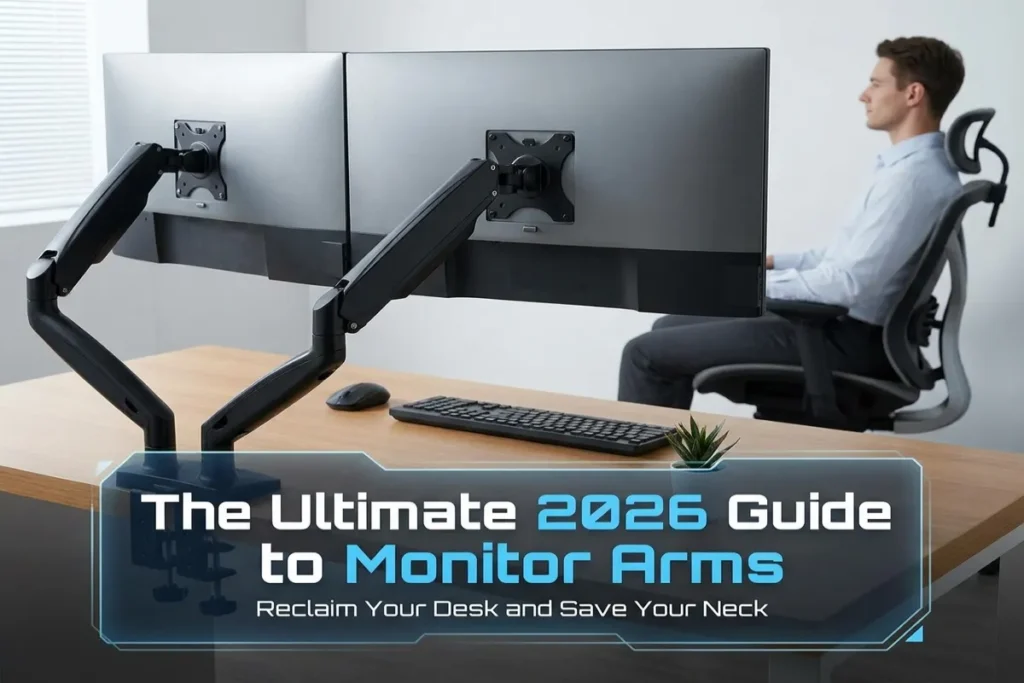
Are you constantly fighting nagging neck strain after a long day at the keyboard? Is your premium, ultra-thin 2026 OLED monitor taking up half of your workspace with a massive, clunky factory stand? If you are nodding your head, you are dealing with a problem that millions of digital professionals face every day. The solution to your ergonomic and spatial nightmares is surprisingly simple: upgrading to high-quality Monitor Arms.
In today’s fast-paced, digital-first workspace, whether you are coding complex software, day trading, streaming, or designing 3D graphics, relying on a static, non-adjustable monitor stand is a relic of the past. The displays of 2026 are wider, heavier, and more immersive than ever before. Yet, hardware manufacturers continue to ship them with rigid bases that dictate exactly how and where you must sit.
Monitor Arms are not just a luxury aesthetic upgrade; they are a fundamental requirement for long-term physical health and optimal productivity. By decoupling your screen from the surface of your desk, you gain total control over your digital environment.
In this comprehensive guide, we will dive deep into the ergonomic science behind monitor positioning, explore the different mechanical technologies driving today’s best mounts, and provide actionable tips to help you build the ultimate workspace.
Monitor Arms: The Ultimate 2026 Masterclass on Ergonomics & Desk Space
Table of Contents
Why You Absolutely Need Monitor Arms in 2026
The transition from a factory stand to an articulated arm is often described as a “point of no return” for office workers and gamers alike. Once you experience the freedom of a floating display, you will never go back. But what exactly drives this dramatic shift in user preference?
The Ergonomic Imperative: Saving Your Cervical Spine
The human head weighs approximately 10 to 12 pounds. When your ears align directly over your shoulders, your cervical spine supports this weight effortlessly. However, for every inch you tilt your head forward to look down at a poorly positioned screen, the load on your neck muscles doubles. This phenomenon, often referred to as “tech neck,” leads to chronic fatigue, tension headaches, and long-term spinal degradation.
Most factory monitor stands are simply too short. They force the user to hunch forward and look slightly downward. According to strict ergonomic standards, the top bezel of your monitor should be perfectly aligned with your eye level when sitting up straight. Monitor Arms solve this instantly. With a fluid push or pull, you can elevate your screen to the exact millimeter required for your height, promoting a neutral spine and drastically reducing musculoskeletal fatigue.
Reclaiming Premium Desk Real Estate
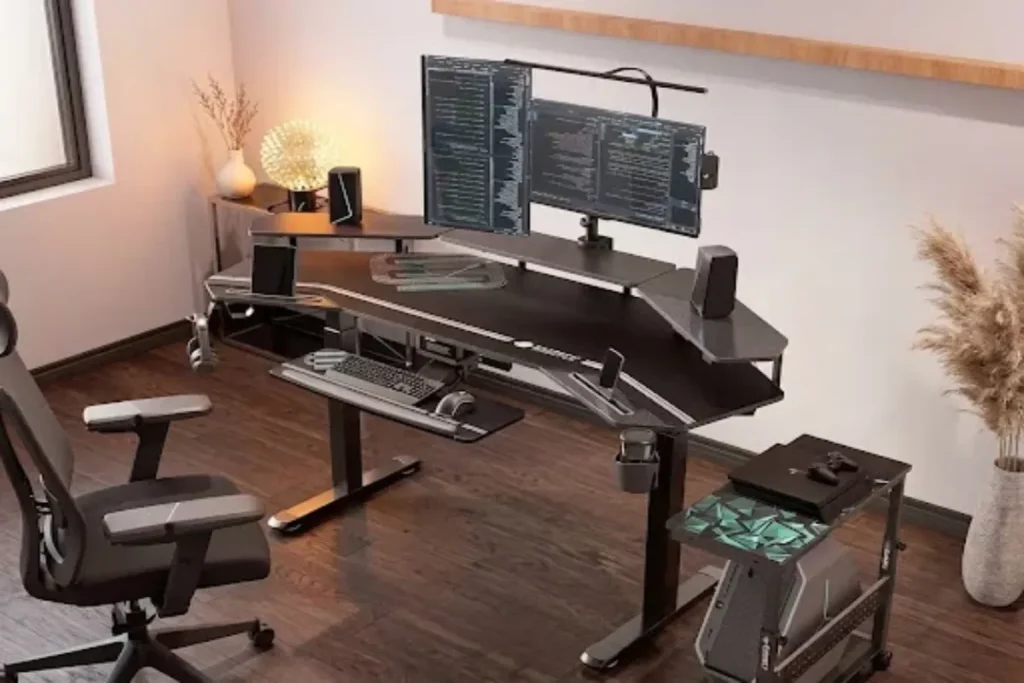
Desks are expensive, and space is a premium commodity. Modern monitors—especially 34-inch, 38-inch, and massive 49-inch curved ultrawides—feature enormous, V-shaped heavy metal bases designed to prevent the screen from tipping over. These bases easily consume 30% to 40% of your usable desk depth.
By utilizing a desk clamp or grommet mount, monitor arms shrink the footprint of your display down to a mere 4-inch square at the back edge of your desk. This reclaims massive amounts of space, giving you room for a large desk pad, notebooks, audio interfaces, or simply the psychological relief of a clean, minimalist workspace.
The Mechanical Hearts of Monitor Arms: Gas vs. Mechanical
Not all arms are created equal. When shopping for monitor arms, the most critical decision you will make revolves around the internal mechanism that provides the lifting force. Understanding the physics inside the arm will ensure you buy a product that lasts for years without sagging.
Gas Spring (Pneumatic) Arms
Gas spring arms utilize a sealed cylinder of compressed gas (usually nitrogen) and a piston. As you push the monitor down, the piston compresses the gas; as you pull it up, the gas expands, providing a smooth, floating lift.
- The Pros: Gas springs offer the smoothest, most silent, and most effortless adjustments available. They provide a true “zero-gravity” feel, allowing you to move a heavy screen with the tip of your finger.
- The Cons: Over a long period (typically 5 to 7 years of heavy daily adjustments), the seals in the pneumatic cylinder can slowly degrade, causing the arm to lose its lifting capacity and slowly sag under the weight of the monitor.
- Best For: Users who constantly share screens, switch between sitting and standing desks, or frequently adjust their monitor’s depth and angle throughout the day.
Mechanical Spring Arms
Instead of compressed gas, these arms rely on heavy-duty, coiled steel springs housed inside the aluminum casing. The tension of the spring counterbalances the weight of your screen.
- The Pros: Mechanical springs are virtually indestructible. A high-quality steel spring will not degrade, leak, or lose its tension over time. These arms often boast lifespans exceeding a decade. They are also generally better at supporting extreme weights, making them ideal for heavy 49-inch ultrawides.
- The Cons: The movement is slightly less fluid than a gas spring. You may feel a slight mechanical resistance or hear a faint metallic hum when making large vertical adjustments.
- Best For: Users with exceptionally heavy monitors, or those who set their monitor to a perfect height and rarely move it afterward.
Static Pole Mounts
For multi-monitor arrays (like a 3-monitor or 4-monitor grid), articulated arms can become chaotic. Static pole mounts feature a central steel column with horizontal brackets. While they lack the depth-adjustment of spring arms, they offer unmatched stability and perfect horizontal alignment for intense productivity or day-trading setups.
Interactive Compatibility Tool
Choosing the right arm requires balancing three variables: Screen Size, Monitor Weight, and the VESA standard. Use this tool to visualize your requirements before purchasing.
Single, Dual, or Ultrawide: Sizing Up Your Workspace
Your specific workflow dictates the structural layout of your monitor arms. Moving into 2026, the diversity of screen setups has never been broader.
The Single Arm Setup
A single premium monitor (usually a 27-inch or 32-inch 4K display) on a high-quality articulating arm represents the cleanest, most minimalist workspace possible. This setup is highly favored by writers, coders, and minimalists. The primary advantage is absolute freedom of movement; the arm can stretch entirely across the desk or tuck flat against the wall.
Mastering the Dual Monitor Setup
The dual monitor configuration remains the undisputed king of office productivity. Having a primary screen for active work and a secondary screen for reference materials, Slack, or email is a proven workflow multiplier.
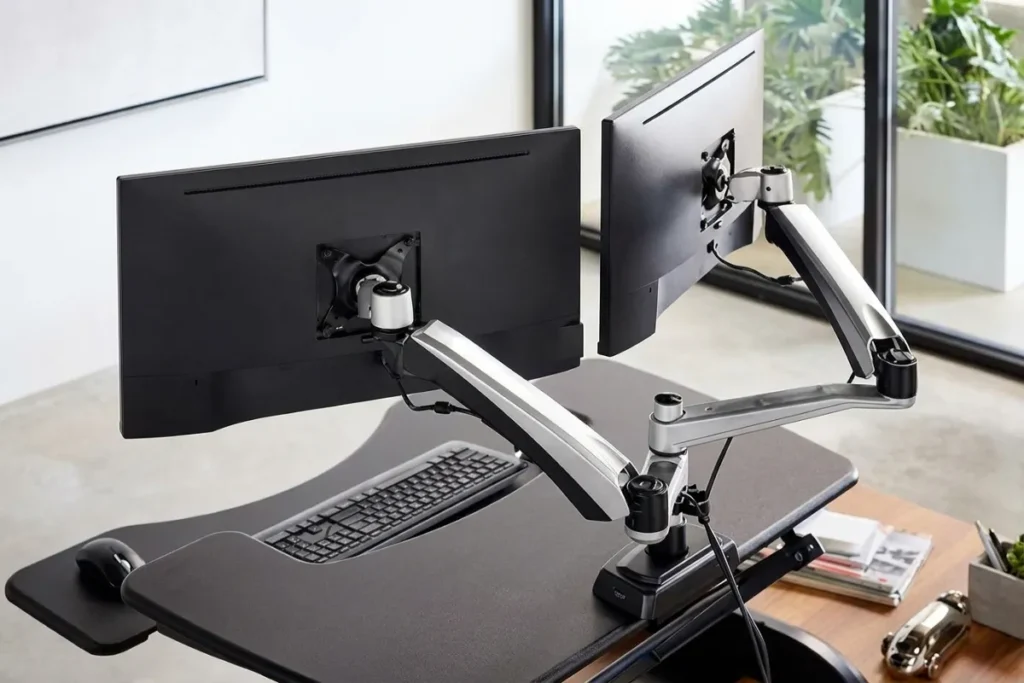
When choosing Monitor Arms for two screens, you have two distinct architectural choices:
- Dual Arm (One Base): Two arms branch out from a single base clamped to your desk. This looks incredibly clean and requires only one mounting point. However, it can limit how close you can push the monitors back toward the wall.
- Two Single Arms: Buying two separate single arms and clamping them to the left and right sides of your desk. While this costs slightly more, it provides absolute, independent freedom for each screen, allowing you to seamlessly rotate one monitor into a vertical (portrait) orientation for reading long strings of code.
Taming the Ultrawide Behemoths
If you own a 49-inch super-ultrawide monitor, standard monitor arms will fail. These screens not only weigh upwards of 30 to 40 pounds, but their severe curvature shifts the center of gravity far forward, applying massive torque to the arm’s tilt mechanism.
If you are mounting an ultrawide, you must look for arms explicitly marketed as “Heavy-Duty” or “Ultrawide Compatible.” These feature reinforced mechanical springs and heavy-duty friction tilt-hinges designed specifically to prevent the massive screen from slowly drooping downward over time.
Demystifying the VESA Standard
You cannot mount a monitor to an arm without understanding VESA. The Video Electronics Standards Association (VESA) created a universal mounting standard that almost all monitor and TV manufacturers follow today.
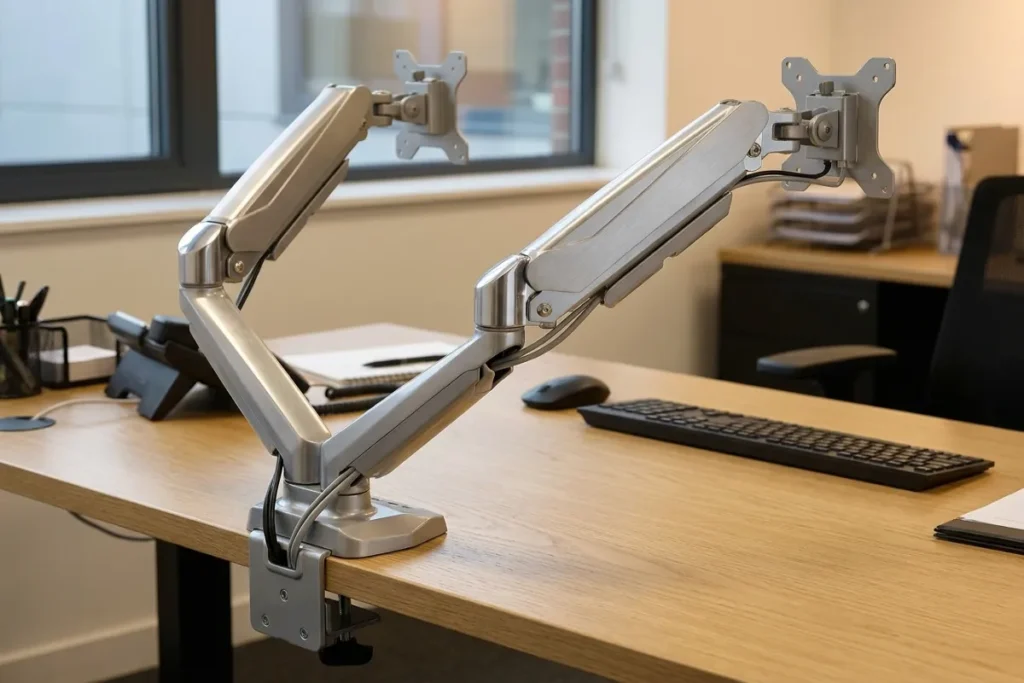
If you look at the back of your monitor, you will likely see four threaded screw holes arranged in a square. The distance between these holes (measured in millimeters) is your VESA pattern.
- VESA 75x75mm & 100x100mm: This is the standard for 95% of desktop monitors under 34 inches. Almost every monitor arm on the market ships with a bracket that supports both of these patterns.
- VESA 200x200mm and up: Typically reserved for large televisions or massive 55-inch gaming displays. You will need a heavy-duty wall mount or a specialized adaptor plate to fit a standard arm.
A Note on Apple Displays: Many Apple monitors, including certain older iMacs and standard Studio Displays, do not feature native VESA mounts out of the box. You must specifically order the “VESA Mount Adapter” version from Apple, or purchase a third-party clamp adapter, to attach them to standard monitor arms.
The 2026 Standard: Advanced Features to Look For
As we navigate through 2026, monitor arms have evolved from simple pieces of metal into highly integrated tech accessories. When shopping, keep an eye out for these premium features that elevate the user experience:
- Integrated USB-C and Thunderbolt 5 Hubs: The best monitor arms now feature pass-through hubs built directly into the base clamp. You can plug your mouse, keyboard, and high-speed data drives directly into the base of the arm, minimizing cable clutter running across your desk to your PC.
- Quick-Release VESA Plates: Instead of requiring you to hold a heavy monitor in the air while awkwardly trying to screw it into the arm, quick-release plates allow you to screw the plate to the monitor while it is resting on the desk. You then simply lift the monitor and “click” it into the arm’s receptacle.
- Hidden Cable Management: Premium arms feature hollowed-out channels and magnetic covers. You can route your thick DisplayPort cables and power cords internally through the arm itself, creating a seamless, floating “wireless” illusion.
- Top-Down Installation Clamps: Older models required you to crawl under your desk to tighten the C-clamp. Modern ergonomic designs feature a top-facing hex screw, allowing you to securely tighten the clamp to the desk from above, saving you from an awkward struggle on the floor.
Desk Compatibility: Will It Hold?
Before you rush to checkout, you must evaluate the surface to which you are attaching the arm. Monitor arms act as levers; the further you pull the screen toward you, the more concentrated pressure the clamp exerts on a very small section of your desk.
| Desk Material | Recommendation | Precautions |
| Solid Hardwood (Oak, Walnut) | Highly Recommended | Safe for all arms, including heavy-duty ultrawide mounts. |
| Plywood / High-Quality MDF | Recommended | Excellent support. Use a reinforcement plate for monitors over 20 lbs. |
| Honeycomb Core (e.g., IKEA LINNMON) | Use Caution | The hollow interior will crush under the clamp pressure. You must use a steel reinforcement plate on the top and bottom to distribute the load. |
| Tempered Glass | Do Not Use Clamps | Glass will shatter under the localized pressure of a C-clamp. Opt for wall mounts or free-standing bases. |
How to Install Your Monitor Arms Safely
Installing a monitor arm is straightforward, but doing it in the wrong order can result in dropped screens or damaged desks. Follow this professional procedure to ensure a flawless setup.
1.Prepare the Desk Surface:Clear everything away.
Remove all items from the area where you intend to mount the base. Wipe the desk edge clean to ensure the rubber grips on the clamp make solid contact and won’t slip over dust.
2.Secure the Base Clamp:Do not overtighten.
Slide the C-clamp onto the back edge of the desk. Tighten the bolt until it is firmly secure and does not wiggle, but avoid over-cranking it, which can dent the desk surface. If using a reinforcement plate, sandwich it between the clamp and the desk now.
3.Assemble the Lower and Upper Arms:
Depending on your model, drop the lower arm segment onto the base pole, and then attach the upper spring arm. Ensure any set-screws are tightened with the provided Allen wrench to prevent the arm from popping off during adjustment.
4.Attach the VESA Plate to the Monitor:Keep the monitor flat.
Lay your monitor face down on a soft, flat surface (like your bed or a thick towel). Align the VESA plate with the four holes on the back of the monitor and screw it in securely using a cross-pattern to distribute tension evenly.
5.Mount the Monitor and Adjust Tension:Requires two hands.
Lift the monitor and slide the VESA plate into the arm’s receiving slot until it clicks. Crucial step: The monitor will likely immediately drop or shoot upward. Use your Allen wrench to adjust the gas/mechanical spring tension bolt on the arm. Turn towards “+” if the monitor sags, and “-” if it rises, until the screen floats perfectly in place.
6.Route Your Cables:
Once the tension is perfectly calibrated and you are happy with the range of motion, route your power and display cables through the arm’s hidden cable management channels. Ensure you leave enough slack at the joints so the cables don’t pull out when you move the monitor.
Conclusion
In an era where we spend thousands of hours staring at digital displays, compromising on ergonomics and desk space is a mistake you can no longer afford to make. Monitor Arms represent a relatively small financial investment that yields massive, daily dividends in physical comfort, productivity, and workspace aesthetics.
Whether you are seeking the zero-gravity fluidity of a gas spring arm for a single sleek display, or the unyielding industrial strength of a mechanical spring for a massive 49-inch ultrawide, the 2026 market offers a precision-engineered tool for every setup. Stop letting factory stands dictate your posture. Elevate your screens, reclaim your desk space, and transform the way you work.
Ready to build the ultimate, future-proof workspace? Dive deeper into the latest tech hardware reviews, ergonomic guides, and productivity strategies at thetekworld.com today!
Frequently Asked Questions (FAQ)
1. Will monitor arms damage my desk?
High-quality monitor arms feature rubber padding inside the clamp to protect the desk surface. However, if you have a desk made of cheap particleboard, honeycomb core (like some inexpensive IKEA desks), or glass, the concentrated pressure can cause crushing or cracking. In these cases, you should purchase a steel monitor mount reinforcement plate to distribute the pressure safely.
2. Can I mount a curved monitor on standard monitor arms?
Yes, curved monitors use the exact same VESA mounting standards as flat monitors. However, because the curve shifts the screen’s center of gravity forward, it puts more strain on the arm’s tilt mechanism. Ensure the arm you buy is rated for a weight higher than your curved monitor’s actual weight.
3. What is the difference between a grommet mount and a C-clamp?
A C-clamp grips the outer back edge of your desk. A grommet mount requires a hole to be drilled directly through the desk surface (or utilizes a pre-existing cable routing hole). Grommet mounts are excellent if your desk is pushed flush against a wall and you cannot fit a clamp behind it.
4. How do I know if my monitor is VESA compatible?
Check the back of your monitor for four screw holes arranged in a square pattern (usually measuring 100mm x 100mm). Alternatively, search your monitor’s exact model number online and check the manufacturer’s spec sheet under the “Mounting” or “VESA” category.
5. How long do gas spring monitor arms last?
Under normal, daily usage, a high-quality gas spring monitor arm from a reputable brand will typically last between 5 to 7 years before the pneumatic cylinder begins to slowly lose pressure. Mechanical spring arms, on the other hand, can easily last over a decade.

Comments