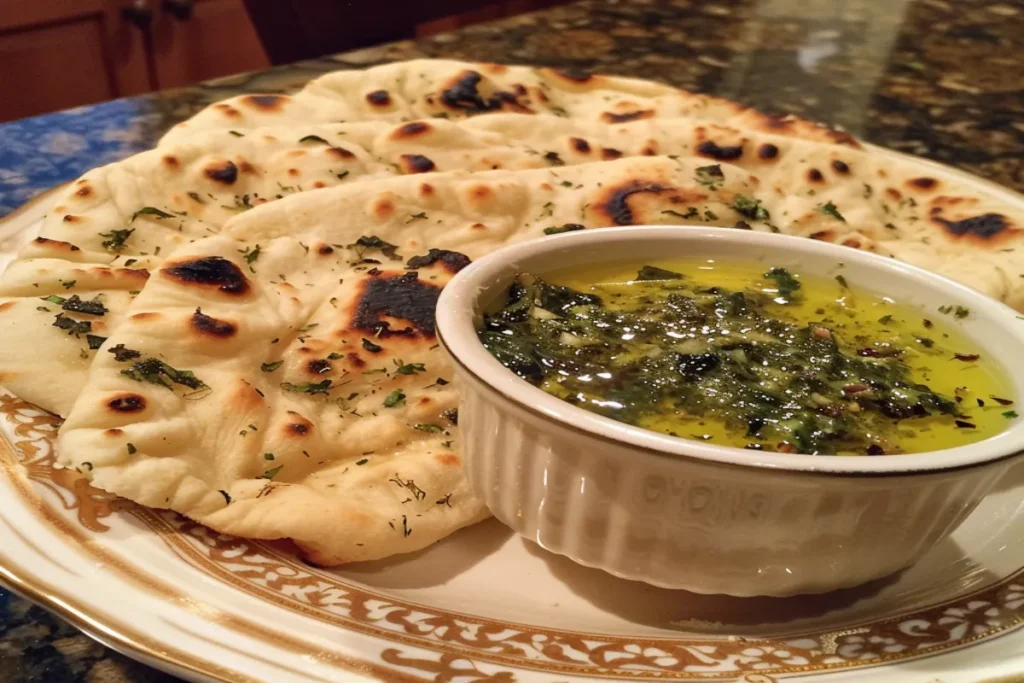
There’s something truly magical about tearing into a piece of freshly made, warm, and pillowy naan—especially when it’s infused with the rich flavors of garlic and herbs. The crisp, golden exterior gives way to a soft, airy inside, making every bite an irresistible delight. While store-bought naan can be convenient, nothing compares to the taste and texture of homemade naan, especially when paired with your favorite curry, stew, or dip. The best part? Making it from scratch is easier than you think!
In this guide, we’ll show you how to create Fluffy Homemade Garlic Herb Naan that’s bursting with flavor and perfect for any occasion. Whether you’re an experienced baker or trying your hand at bread-making for the first time, this simple and rewarding recipe will quickly become a staple in your kitchen. Plus, the mouthwatering aroma of garlic and herbs filling your home is a bonus you won’t want to miss.
Why You’ll Love This Garlic Herb Naan
Soft, flavorful naan has a way of elevating any meal, whether you’re serving it alongside creamy curries, smoky grilled meats, or enjoying it as a standalone snack. The addition of garlic and fresh herbs transforms this classic bread into something truly special. Here’s why this recipe is a must-try:
- Perfectly Soft and Fluffy Texture – A blend of whole milk, Greek yogurt, and yeast gives the dough a light, airy quality that allows it to puff beautifully when cooked.
- Infused with Garlic and Herbs – Fresh garlic and herbs like parsley, cilantro, or chives add a savory, aromatic touch that enhances the naan’s flavor.
- Golden, Crispy Exterior – Cooking naan in a hot skillet creates a slight crispness on the outside while keeping the inside irresistibly soft and chewy.
- Versatile and Customizable – This naan pairs wonderfully with a variety of dishes, from hearty stews to simple dips. You can also switch up the herbs or add ingredients like cheese or chili flakes for extra flavor.
Once you’ve tried making this homemade garlic herb naan, you’ll never want to go back to store-bought versions again. Now, let’s get started on crafting this incredible bread in your own kitchen!

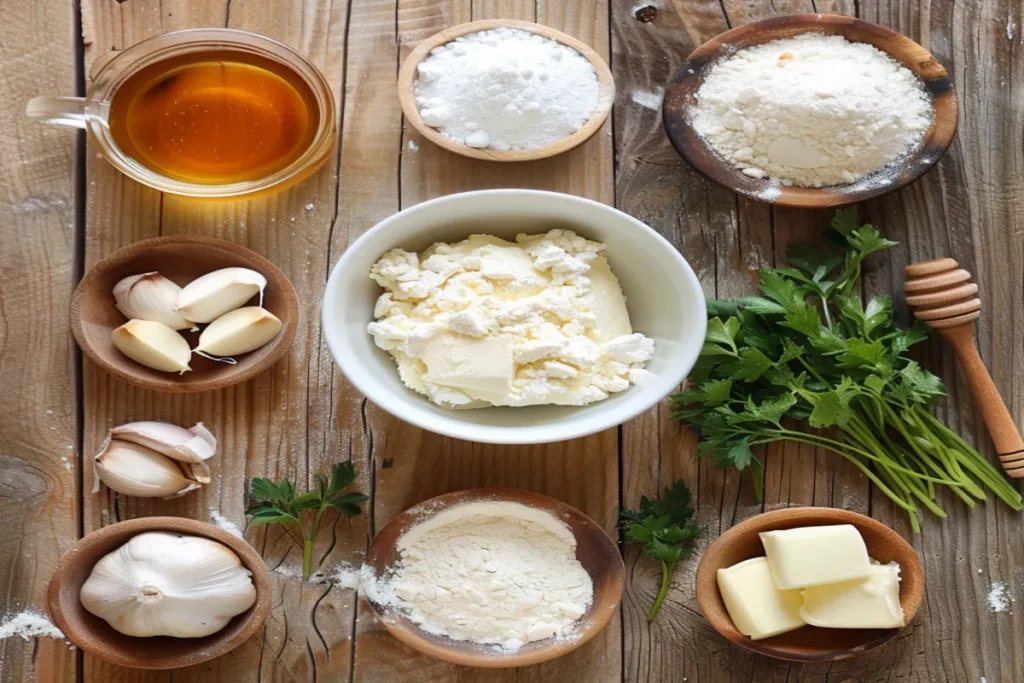
Ingredients for the Perfect Garlic Herb Naan
Before we jump into the recipe, let’s take a quick look at the key ingredients that make this naan so special.
| Ingredient | Amount |
|---|---|
| Warm Water | 1/4 cup |
| Honey | 1 tablespoon |
| Active Dry Yeast (Optional) | 3/4 teaspoon |
| Warm Whole Milk | 3/4 cup |
| Full-Fat Plain Greek Yogurt | 1 cup |
| All-Purpose Flour | 4 cups |
| Baking Powder | 1 1/2 teaspoons |
| Baking Soda | 1 teaspoon |
| Kosher Salt | 1/4 teaspoon |
| Salted Butter (Divided) | 8 tablespoons (1 stick) |
| Garlic (Grated) | 2-4 cloves |
| Fresh Herbs (e.g., parsley, cilantro, chives, dill) | 3/4 cup |
Optional Ingredients for Added Flavor
While the basic ingredients will give you a delicious garlic herb naan, there are a few optional additions that can elevate the flavor even further:
- Herb Variety: Feel free to experiment with different herbs. While parsley, cilantro, and chives are the most common, you can try dill or basil for a unique twist.
- Spices: If you enjoy a bit of heat, consider adding chili flakes or ground cumin to the dough to add extra depth of flavor.
Step-by-Step Instructions to Make Garlic Herb Naan
Now that you have all your ingredients ready, it’s time to dive into the process of making your own homemade naan. Here’s how to do it step by step:
Step 1: Activating the Yeast
To start off, you’ll need to activate the yeast if you’re using it in your recipe. Activating the yeast is what helps your dough rise and become light and fluffy. Here’s how you do it:
- In a stand mixer bowl (or a regular bowl if you don’t have a stand mixer), combine the warm water, honey, and yeast. Stir the mixture gently and allow it to sit for 5-10 minutes.
- You’ll know the yeast is activated when you see bubbles form on the surface of the water. This means the yeast is alive and ready to help your dough rise.
Note: Yeast is optional in this recipe. If you prefer to skip the yeast, the naan will still turn out delicious, but it won’t be as fluffy. You can skip the activation step if you’re not using yeast.
Step 2: Preparing the Dough
Once your yeast is activated, it’s time to make the dough:
- Add warm milk, Greek yogurt, flour, baking powder, baking soda, and salt to the yeast mixture.
- Using a dough hook (or your hands), mix the ingredients for about 2-4 minutes until everything is well combined and a sticky dough forms. Don’t worry if the dough feels sticky—this is normal.
- Lightly dust your work surface with flour, then gently shape the dough into a ball.
- Cover the dough with plastic wrap and place it in a warm spot to rise. Let it sit for about 1 hour, or until it has doubled in size.
Tip: If you’re short on time, you can refrigerate the dough overnight to let it rise slowly. This will also help develop the flavor.
Step 3: Shaping the Naan
After the dough has risen and doubled in size, it’s time to shape the naan:
- Divide the dough into 8 equal portions. You can use a knife or simply pull apart pieces of dough with your hands.
- Roll each portion into an oval shape, about 8 inches long and 1/4-inch thick. The dough might be a little sticky, so feel free to dust your rolling pin and surface lightly with flour.
Step 4: Cooking the Naan
To get that perfect golden, crispy exterior, you’ll cook the naan in a hot skillet. Here’s how:
- Heat a large cast-iron skillet over medium-high heat. You want the skillet to be very hot before cooking the naan.
- Brush one side of each piece of naan with half of the melted butter.
- Lightly drizzle a teaspoon of olive oil into the skillet and use a paper towel to spread the oil evenly over the surface.
- Place a piece of dough on the skillet. Cover it with a lid and cook for about 1 minute until bubbles start to form on the top.
- Flip the naan and cook for an additional 1-2 minutes, until you see golden spots on both sides.
- Remove the naan from the skillet and wrap it in a clean kitchen towel to keep it warm.
- Repeat with the remaining dough.
Step 5: Making the Garlic Herb Butter
While the naan is cooking, prepare the garlic herb butter:
- In a small pan, melt the remaining butter over low heat.
- Add the grated garlic and allow it to cook for 1-2 minutes until it starts to lightly brown and become fragrant.
- Remove the pan from the heat and stir in the freshly chopped herbs.
Step 6: Serving Your Garlic Herb Naan
Once your naan is cooked, it’s time to serve:
- Brush the warm naan with the garlic herb butter you just made.
- Serve the naan immediately while it’s warm and fresh. It pairs wonderfully with curries, stews, or just as a snack on its own.
Pro Tip: While naan tastes best fresh, you can store leftover naan in an airtight container for up to 3-4 days. If you want to freeze it, place it in a freezer-safe bag and freeze it for up to 3 months.

Tips and Tricks for Perfect Garlic Herb Naan Every Time
Making naan from scratch is simple, but there are a few tips that can help you perfect your recipe every time:
How to Achieve the Perfect Texture
- Use Full-Fat Milk and Yogurt: These ingredients contribute to a richer dough that results in a soft, tender naan.
- Avoid Overworking the Dough: When mixing and shaping, be gentle with the dough to maintain its airy texture.
- Preheat Your Skillet: Make sure your cast-iron skillet is very hot before placing the dough in it. This helps create those golden, crispy spots.
How to Store Leftover Naan
- For Freshness: Store leftover naan in an airtight container at room temperature for 3-4 days.
- For Freezing: To freeze, place the naan in a freezer-safe bag, separated by parchment paper, to prevent sticking. Reheat it by wrapping it in foil and placing it in a preheated oven for a few minutes.
Customizing the Recipe
Feel free to experiment with the flavors of your naan. Add more garlic for a stronger flavor or use different herbs to change up the taste. You could also sprinkle some cheese on top before cooking for a cheesy garlic naan variation.
Frequently Asked Questions About Fluffy Homemade Garlic Herb Naan
Can I make this naan without yeast?
Yes! The yeast is optional. Without yeast, the naan will still be delicious, but it will have a slightly denser texture.
Can I use non-dairy milk or yogurt for this recipe?
Absolutely! Feel free to substitute dairy-free milk (like almond, oat, or soy milk) and plant-based yogurt if you prefer a vegan version.
How do I reheat leftover naan?
Reheat naan by placing it in a hot skillet or wrapping it in foil and warming it in the oven. This will help maintain its soft texture.

Conclusion:
Making Fluffy Homemade Garlic Herb Naan is easier than you might think, and the result is a warm, soft, and aromatic bread that pairs perfectly with a variety of dishes. By following these steps, you’ll create naan that rivals what you’ve enjoyed at your favorite restaurants, all in the comfort of your own kitchen.
Now that you know the recipe, it’s time to get cooking! Don’t forget to share your naan-making experience in the comments below and let us know your favorite ways to enjoy this versatile bread. Whether it’s for a cozy dinner or a special occasion, homemade garlic herb naan will always steal the show. Happy cooking!
