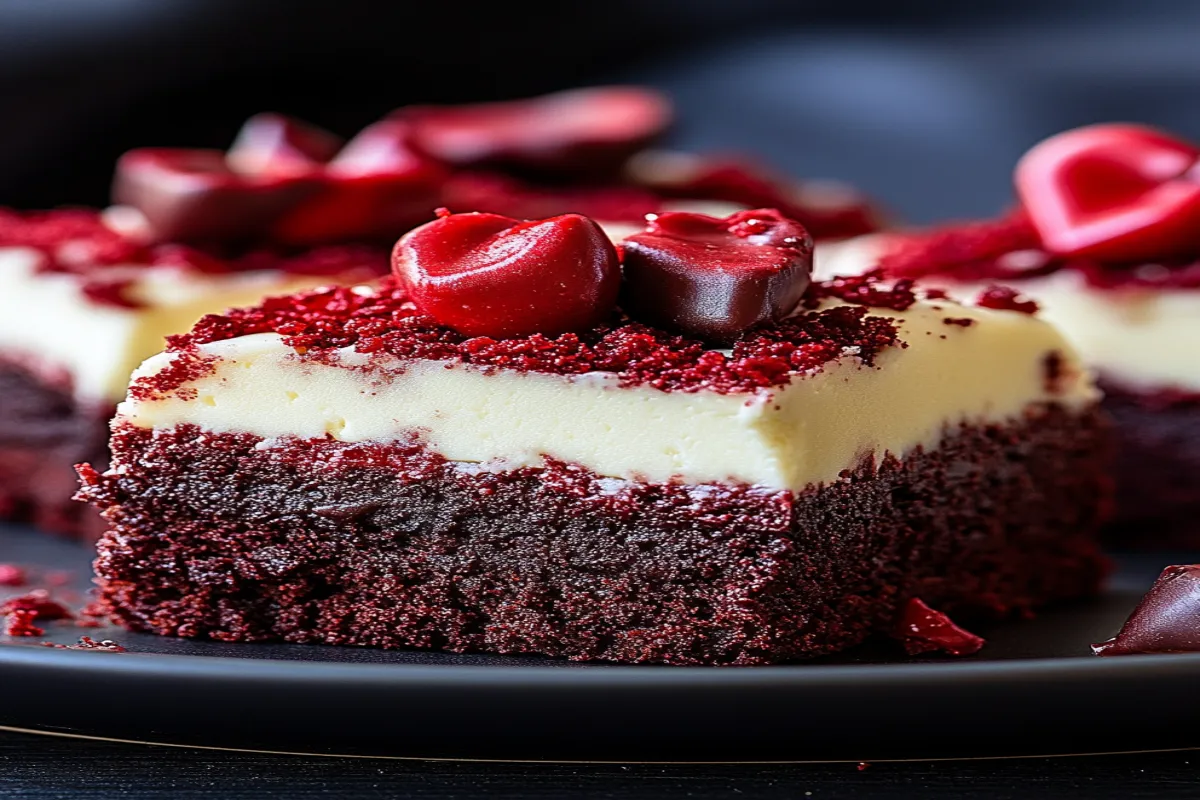
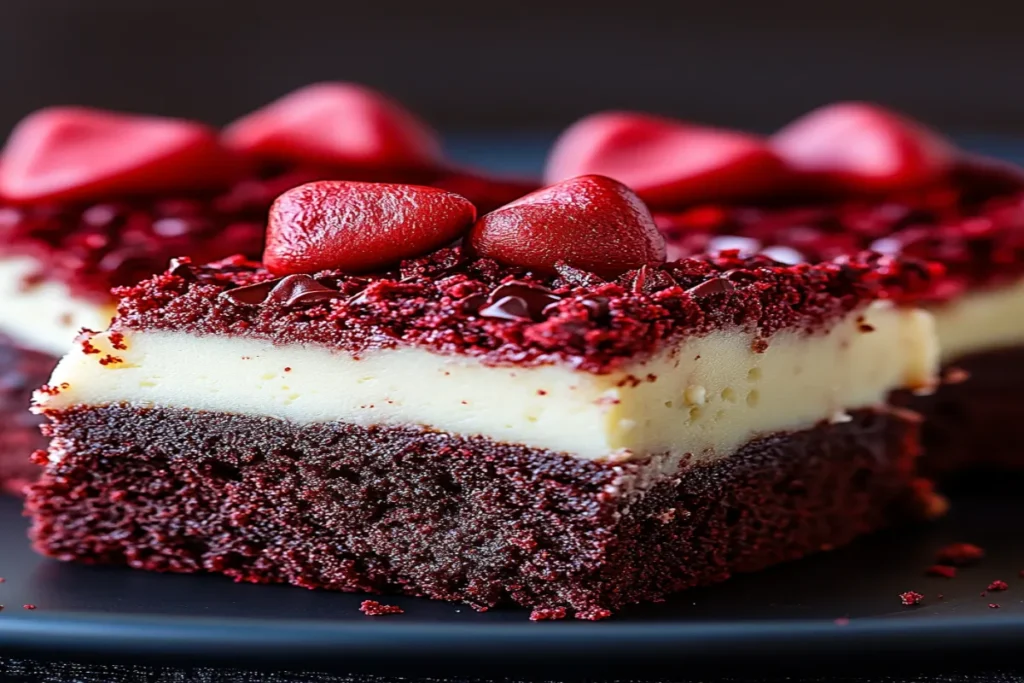
Red Velvet Brownies offer a delicious twist on the traditional brownie, blending the rich, indulgent flavor of cocoa with the unique, slightly tangy essence that red velvet desserts are known for. A Southern favorite turned classic, red velvet has come to symbolize elegance and decadence, often seen in cakes, cupcakes, and now, brownies. The striking red hue not only makes these brownies visually appealing but also adds a festive flair, making them the perfect treat for holidays, parties, or a cozy night in.
What makes Red Velvet Brownies stand out is their perfect balance of flavors. The subtle hint of cocoa, combined with the creaminess of the cream cheese frosting, creates a harmony of tastes that’s both indulgent and satisfying. The dense, fudgy texture of these brownies, paired with their unique color, makes them a showstopper dessert that’s as pleasing to the eye as it is to the palate.
Ingredients
- For the Brownies:
- 1 cup (2 sticks) unsalted butter, melted
- 2 cups granulated sugar
- 4 large eggs
- 1 tablespoon vanilla extract
- 1 1/4 cups all-purpose flour
- 1/4 cup unsweetened cocoa powder
- 1/4 teaspoon salt
- 1 tablespoon red food coloring (gel food coloring works best)
- 1 tablespoon white vinegar
- 1/2 cup buttermilk
- For the Cream Cheese Frosting (Optional):
- 8 ounces cream cheese, softened
- 1/4 cup unsalted butter, softened
- 2 cups powdered sugar
- 1 teaspoon vanilla extract

Preparation
Step 1: Preheat your oven to 350°F (175°C). Grease a 9×13-inch baking pan or line it with parchment paper.
Step 2: In a large mixing bowl, combine the melted butter and sugar. Beat with a hand mixer or stand mixer until well combined and creamy.
Step 3: Add the eggs, one at a time, beating well after each addition. Stir in the vanilla extract.
Step 4: In a separate bowl, sift together the flour, cocoa powder, and salt. Gradually add the dry ingredients to the wet ingredients, mixing just until combined.
Step 5: Stir in the red food coloring, white vinegar, and buttermilk until the batter is smooth and evenly colored.
Step 6: Pour the batter into the prepared baking pan and spread it evenly with a spatula.
Step 7: Bake for 25-30 minutes, or until a toothpick inserted into the center comes out clean. Be careful not to overbake to maintain the fudgy texture.
Step 8: While the brownies are cooling, prepare the cream cheese frosting (if using). In a mixing bowl, beat together the softened cream cheese and butter until smooth. Gradually add the powdered sugar and vanilla extract, mixing until light and fluffy.
Step 9: Once the brownies have cooled completely, spread the cream cheese frosting evenly over the top. Cut into squares and serve.
Cooking Note
- Red Food Coloring: Gel food coloring is more concentrated and provides a more vibrant red color without affecting the texture of the brownies. If you prefer not to use food coloring, you can leave it out, but the brownies will not have the classic red velvet appearance.
- Buttermilk Substitute: If you don’t have buttermilk on hand, you can make your own by adding 1/2 tablespoon of white vinegar or lemon juice to 1/2 cup of milk. Let it sit for about 5 minutes before using.
Serving Suggestions
Red Velvet Brownies can be served on their own or with a variety of toppings to enhance their flavor and presentation:
- With Ice Cream: Serve warm brownies with a scoop of vanilla or cream cheese ice cream for an extra indulgent dessert.
- With Fresh Berries: Add a handful of fresh raspberries or strawberries on top of the cream cheese frosting for a pop of color and a fresh, tangy contrast.
- Drizzled with Chocolate: For a richer experience, drizzle melted white or dark chocolate over the brownies before serving.
- As a Layered Dessert: Cut the brownies into small squares and layer them with cream cheese frosting in a glass to create a brownie parfait.
Tips
- Storage: Store leftover brownies in an airtight container in the refrigerator for up to 5 days. Bring them to room temperature before serving for the best texture.
- Freezing: You can freeze the unfrosted brownies for up to 3 months. Wrap them tightly in plastic wrap and foil before freezing. Thaw in the refrigerator overnight before frosting and serving.
- Color Variations: For a different look, try using other food coloring shades like blue or purple for a unique twist on the traditional red velvet.
Prep Time: 15 minutes
Cooking Time: 25-30 minutes
Total Time: 45 minutes
Nutritional Information (per serving)
- Calories: 280 kcal
- Protein: 3 g
- Sodium: 150 mg
Variations:
- Cream Cheese Swirl Red Velvet Brownies:
- Add a cream cheese swirl to the brownies by mixing softened cream cheese with sugar and vanilla extract. Drop spoonfuls of the mixture onto the brownie batter and swirl with a knife before baking.
- Red Velvet Brownies with Nuts:
- Incorporate chopped walnuts or pecans into the batter for a crunchy texture that complements the fudgy brownie.
- Red Velvet Cheesecake Brownies:
- Add a layer of cheesecake filling between the brownie layers for a decadent dessert that combines two beloved flavors.
- Gluten-Free Red Velvet Brownies:
- Substitute the all-purpose flour with a gluten-free flour blend to make these brownies suitable for those with gluten sensitivities.
- Red Velvet Brownie Bites:
- Bake the batter in a mini muffin tin to create bite-sized treats, perfect for parties and gatherings.
- Vegan Red Velvet Brownies:
- Replace the eggs with a flaxseed or chia seed mixture and use a plant-based butter substitute to create a vegan version of these brownies.
- Frosted Red Velvet Brownies:
- Top the baked and cooled brownies with a layer of cream cheese frosting for an extra sweet and tangy finish.
- Red Velvet Brownie Sundaes:
- Serve warm brownies with a scoop of vanilla ice cream and a drizzle of chocolate syrup for a luxurious dessert.
Each of these variations adds a unique twist to the classic Red Velvet Brownie, allowing you to customize the recipe to suit different tastes and dietary preferences.
FAQs:
- Can I use a different type of chocolate for Red Velvet Brownies?
- Yes, you can experiment with different types of chocolate in your Red Velvet Brownies. While traditional recipes call for white chocolate or cocoa powder, you can use milk chocolate, dark chocolate, or even semi-sweet chocolate chips depending on your preference for sweetness and richness.
- Can I make Red Velvet Brownies without food coloring?
- Absolutely! If you prefer to avoid artificial food coloring, you can leave it out entirely. The brownies will still taste delicious, though they won’t have the characteristic red hue. For a natural alternative, some people use beet juice or beet powder to achieve a red color.
- What’s the best way to store Red Velvet Brownies?
- Red Velvet Brownies can be stored in an airtight container at room temperature for up to 3 days. If you’d like them to last longer, you can refrigerate them for up to a week. For even longer storage, freeze them for up to 3 months—just be sure to wrap them tightly in plastic wrap and place them in a freezer-safe container.
- Can I add frosting to Red Velvet Brownies?
- Yes, adding frosting is a popular way to enhance Red Velvet Brownies. Cream cheese frosting is a classic choice that pairs well with the tangy flavor of red velvet. Simply spread the frosting over the cooled brownies before cutting them into squares.
- How do I know when Red Velvet Brownies are done baking?
- Red Velvet Brownies are done when the edges are set and a toothpick inserted into the center comes out with a few moist crumbs. Be careful not to overbake them, as you want the center to remain fudgy and moist.
- Can I make Red Velvet Brownies gluten-free?
- Yes, you can make gluten-free Red Velvet Brownies by substituting all-purpose flour with a gluten-free flour blend. Make sure the blend contains a binding agent like xanthan gum for the best texture.
- Why are my Red Velvet Brownies too dry?
- Overbaking is the most common cause of dry brownies. To avoid this, keep a close eye on the baking time and start checking for doneness a few minutes before the recommended time. Also, ensure you’re using the correct amount of wet ingredients like butter and eggs, as these contribute to the brownies’ moisture.
- Can I make these brownies ahead of time for an event?
- Yes, Red Velvet Brownies are a great make-ahead dessert. You can bake them a day or two before your event and store them in an airtight container. If you’re adding frosting, you can do so on the day of the event to keep it fresh.
These FAQs cover common concerns and questions that might arise when making Red Velvet Brownies, helping ensure your baking experience is as smooth and successful as possible.
Conclusion
In conclusion, Red Velvet Brownies are more than just a dessert; they’re a delightful experience that combines the rich flavors of cocoa with the elegance of red velvet. Their vibrant color and fudgy texture make them a standout treat that’s perfect for any occasion, whether it’s a special celebration or simply a sweet indulgence at the end of a long day. The process of making these brownies is straightforward, but the results are nothing short of spectacular, offering a perfect balance of sweetness and richness that will satisfy any sweet tooth.
Moreover, these brownies are incredibly versatile. You can stick to the classic recipe for a traditional taste or experiment with different variations to suit your preferences or dietary needs. Whether you choose to enjoy them plain or topped with a generous layer of cream cheese frosting, Red Velvet Brownies are sure to leave a lasting impression on anyone who tries them.